Showing posts with label saturdayisbakingday. Show all posts

Saturday, 16 September 2017

5 Blackberry recipes that you might have been missing out on

The blackberry bushes near us are fit to bursting point which is why, when my father and I meandered down to the bramble bushes we returned with 2kg of the berries! What on earth was I going to do with all those blackberries? 


Instead of going for just the standard jam route I was keen to try something a bit different with my berries and to see just how far I could stretch my punnets.

Cake was definitely on the cards so I rustled up a simple sponge recipe and added 200g blackberries and baked at 180°c for 1 to 1 1/2 hour.  


Second I set some blackberries aside for a smoothie which I will make with kefir, a fermented probiotic culture that contains many beneficial bacteria and yeasts, yoghurt and a spot of honey to taste.

Chia Jam

When I first got to thinking about what to make with my multitude of blackberries, jam instantly jumped to mind yet I was a bit underwhelmed and the thought at making another batch of jam (we still have some of the blackcurrant stuff left) so I racked the internet’s brains for other ideas and this one kinda stuck.  


Obviously, it wouldn’t be me writing up recipes without experimenting and changing a few things so without further ado here's my take on chia jam:

You will need:

1.1 kg blackberries
100ml lemon juice
100m water
150ml honey
200g chia seeds

When you hydrate Chia seeds they become gelatinous, which, as some of the readers of my blog will now (or maybe you just know this anyway) is why they are often used as a substitute for eggs in baking. Following this thought process, it can be assumed that chia seeds can be used in jam making instead of sugar to set the set the jam. n.b. you will need to keep this jam in the fridge though and eat it within two weeks as it has not been preserved like jam has and therefore won’t last as long.

So yeah, I guess I lied, that whole last paragraph was further ado. 

Method:

In a pan boil the fruit and lemon juice for 3-5 minutes to soften the fruit. If like me, you realise at the last minute that you have in fact run out of lemons, use oranges. 


Mash the fruit using a fork, masher or blender depending on how fine you want your jam to be. 

Once boiling and bubbling away nicely stir in the honey.

Add the chia seeds and stir once only before removing from the heat and spooning your jam into sterilised jars.


Overnight Oats

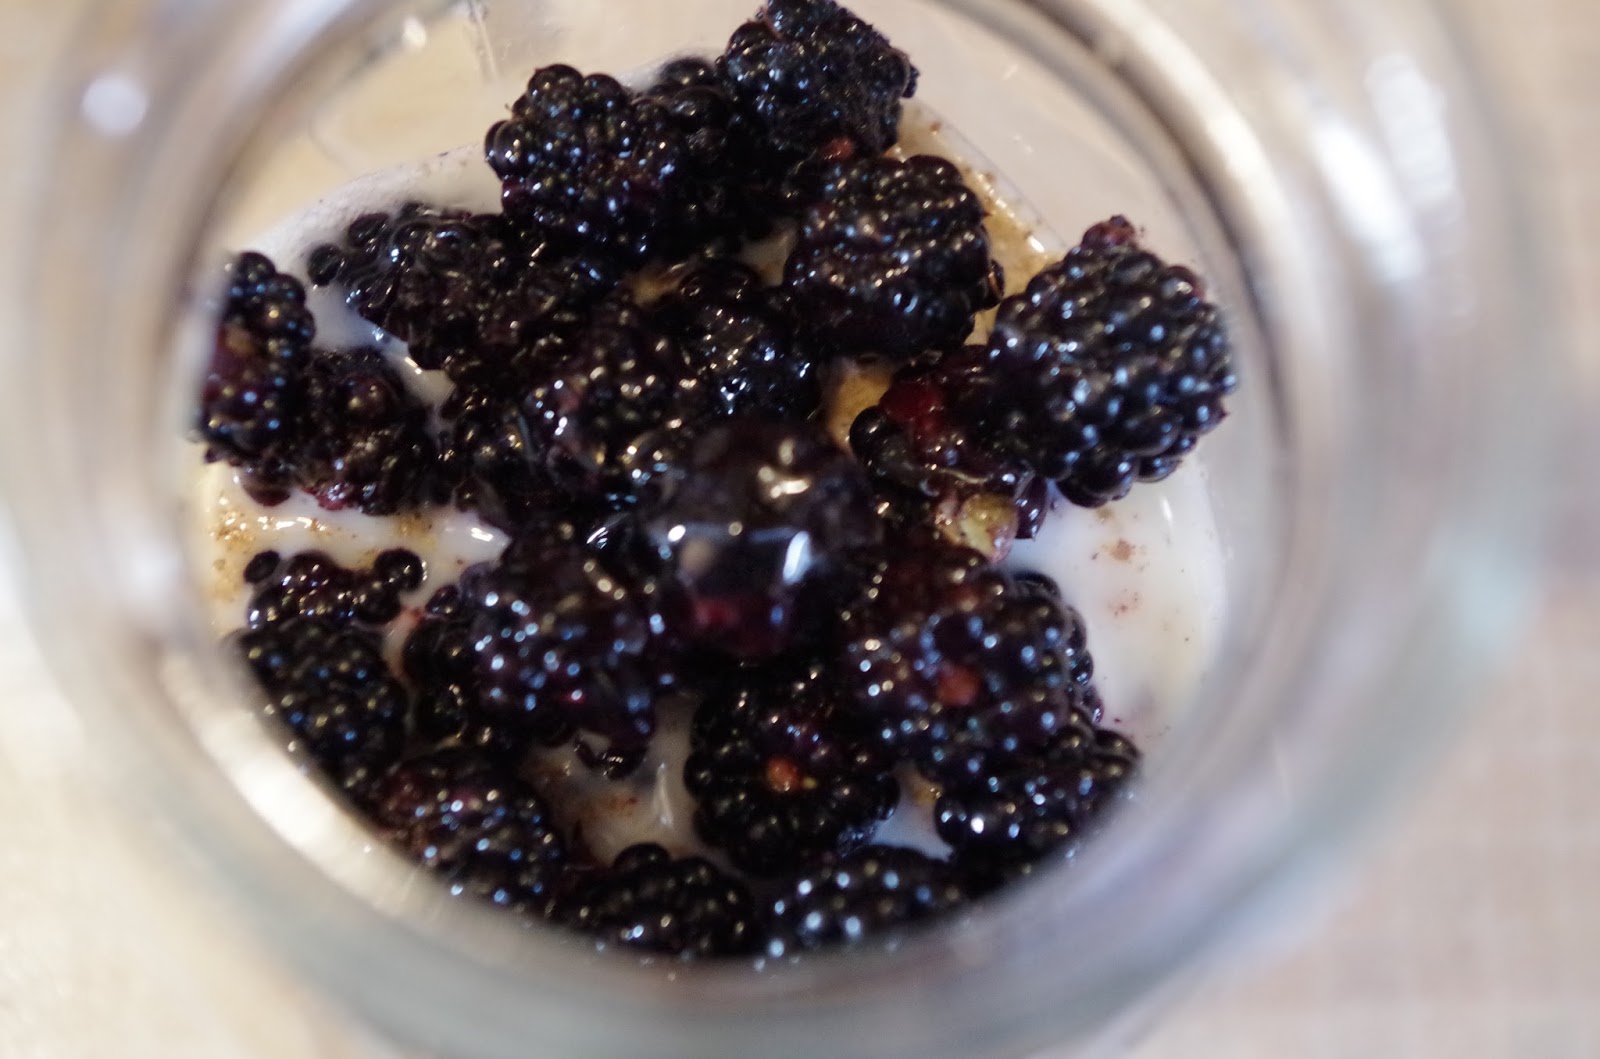
Overnight oats are very in vogue with the health conscious,  clean eating fam so here’s my version featuring…you guessed it…blackberries.
As you’ve probably guessed from the name overnight oats require being made the night before as the cold oats steep in the milk overnight and require zero cooking, it's really really simple to make too. 

I’m actually going to go one step further with my super-easy overnight oats recipe because though some other recipes require a blender, mine doesn’t.

You will need:

65/70g oats - depending on how hungry you get in the morning
225ml almond milk
2 tbsp chia seeds
75g blackberries
2 tbsp of honey (to taste) 


Method:

Fill the base of your container, I'm using a jar with a handle with oats and pour the almond milk until it covers the oats (you made need more) 

Wham the other ingredients that you want to use in the jar and pop it in the fridge overnight. 


I decided to serve my overnight oats with a spoonful of the chia jam (see above)

Blackberry Brownies

The sharp, somewhat tart taste of blackberries works well with the rich flavour of dark chocolate and for the last recipe that I am going to share with you (on this post at least) marries these two flavours in deliciously moist brownies.

You will need:

225g sugar
113g butter (melted)
30g cocoa powder
1/2 tsp vanilla extract
1/2 tsp baking powder
125g plain flour
150-200g blackberries
30g walnuts (optional)
30g cocoa nibs (optional)

Method:

I’ve gone for another super-duper easy recipe for this one which is basically put everything in a bowl (except the blackberries) and mix well.  


Carefully fold in the blackberries trying not to burst them before you cook them. Spoon the mixture onto a lined tray and bake at 180°c for 20 -25 minutes. 


Saturday, 9 April 2016

Matcha Ginger Cheesecake


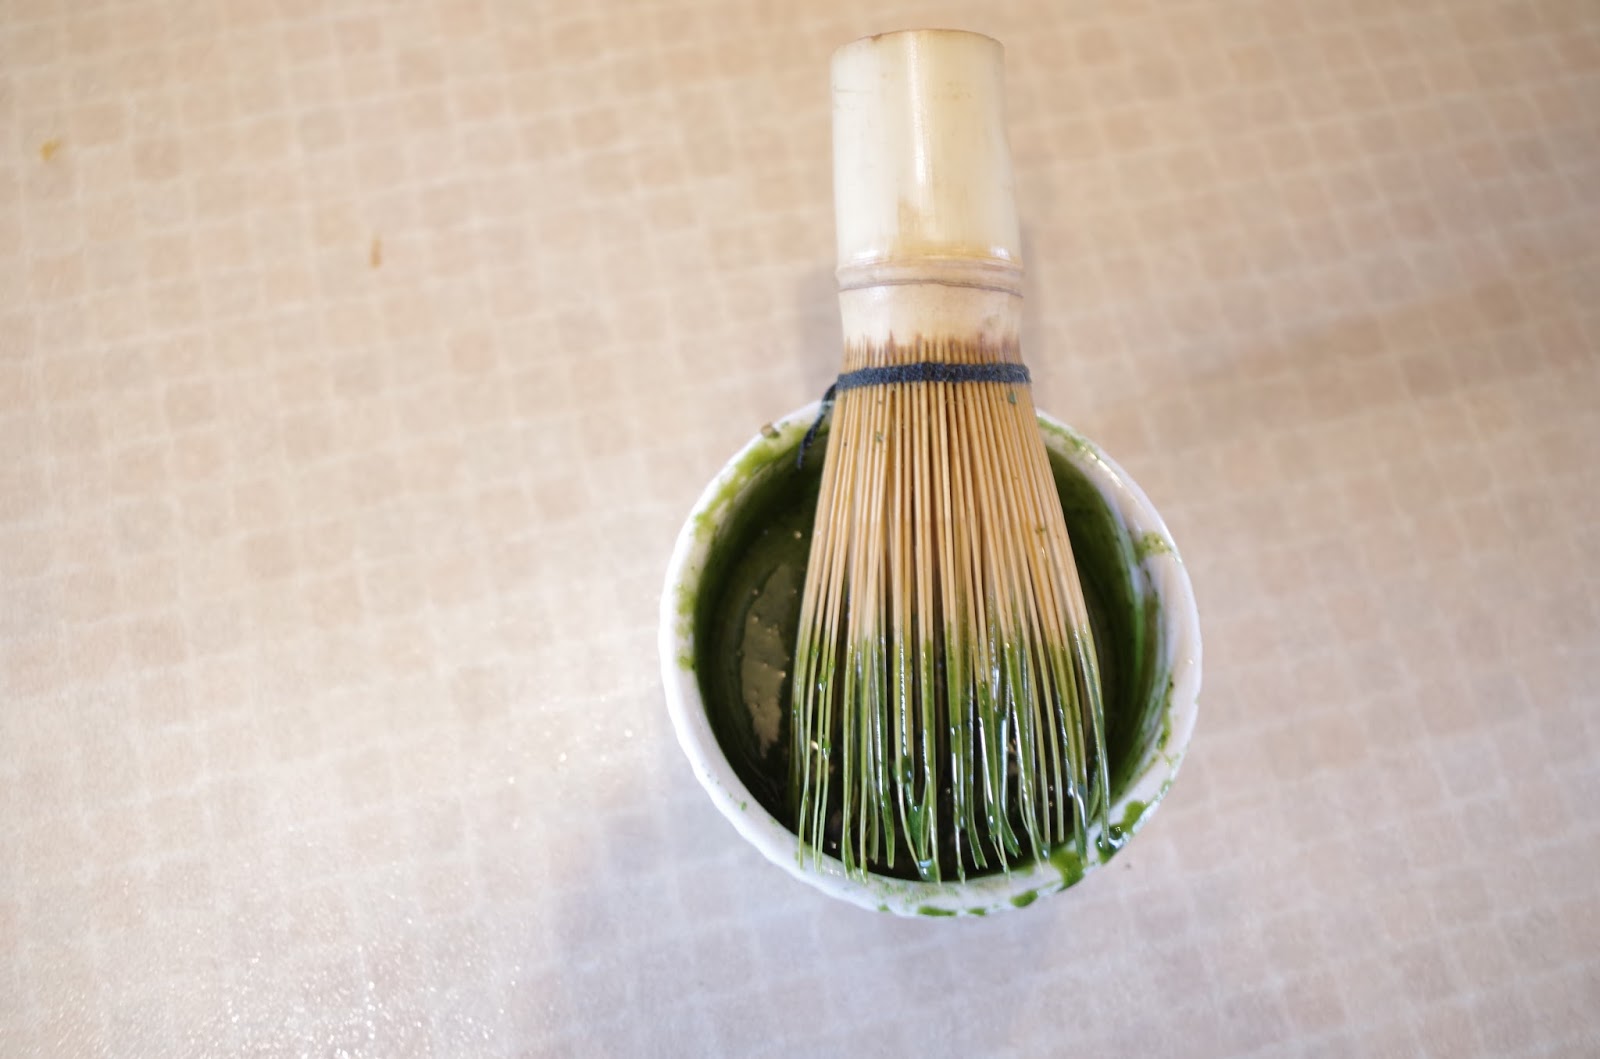
Eat Clean Tea’s new flavour combinations add that extra zing of flavour and I am totally loving the Matcha Ginger. As well as drinking it, matcha,which is ground tea powder is ideal for baking. 

I’ve never made a baked cheesecake before but they say go hard or go home so here’s my recipe for matcha ginger cheesecake with pear glaze. 

For the base you will need:
75g ginger nuts
75g digestive biscuits
50g butter 

For the cheesecake:

400g cream cheese 
2 eggs
2tsp matcha ginger
100g maple syrup

For the glaze:

1 pear
1 tsp sugar
a pinch of ground ginger. 

Preheat the oven to 180 degrees C

Grease the moulds or if (like me) you are making mini cheesecakes the mini cupcake tray.

I”m using half and half digestive biscuits and ginger nuts so the ginger flavour is not too overpowering. Grind the biscuits into crumbs in a food processor or go for the old school method and whack the biscuits in a bag with a rolling pin. 


Melt the butter and stir into the biscuits. Spread the base in the moulds and bake for 5 minutes

Turn the oven down to 150 

Place the cream cheese and most of maple syrup in a bowl and stir until fully combined slowly adding the eggs one at a time. 


Whisk the matcha with the rest of the the maple syrup. Fold into the mixture but be careful not too over mix. 


Bake for 20 minutes.

Chop up the pear and place in the pan with the sugar and ginger.  Boil for 10 minutes. 


Decorate the cake/s and enjoy. 


Saturday, 6 June 2015

Hibiscus tea and poppy seed shortbread

Shortbread is super simple and tasty biscuit to make and its a great recipe to make with kids of any age - yes even I can just about manage this one.

Hibiscus tea has a huge variety of health benefits, not least that it helps lower lower blood pressure and stops you from having nose bleeds (which led me to discovering this tea in the first place.) to find out more about the health benefits of Hibiscus tea click here 
I buy my hibiscus tea tea here 

I used the simple BBC recipe of:
125g butter
55g sugar
180g flour

Additional ingredients that I used are:          2-3 tbsp of hibiscus loose leaf tea
     25g poppy seeds

When I first decided to make tea infused baked goods I wondered how I was even going to do so without the mixture being very runny; the key I have found is to make a tea infused butter. This should normally be made a few hours before you make your shortbread or even the night before.

The shortbread recipe requires 125g butter yet for the infusion stage I would advise that you use a little extra. Therefore I added 150g of butter to a pan and melted it. As the melted butter comes to the boil remove from the heat and add 2-3 tbsp of hibiscus tea depending on how strong you want the flavours to be.  Leave to steep for about fives minutes and then strain the tea. Use a spoon to make sure that you get as much of the butter out of the tea leaves.

Once cooled move the butter into a small container and put it into the fridge to set.

yay the infused butter set- or as my dad likes to refer to it: a culture with bacteria


Place the sugar and flour in a bowl and rub in the butter much like you would do with a crumb;e/ However unlike a crumble the crumb doesn't need to be that fine you just want to make sure that the butter is evenly mixed in.


At this stage add the poppy seeds and bring the mixture together to form a smooth dough. You shouldn't need any liquid to do this but a dash of water or indeed hibiscus tea may be required if your mixture is very dry.

As with most biscuit doughs, shortbread works best if it is left to rest therefore put your dough in a freezer bag or wrap it up in some cling film and place in the fridge for half an hour.

Now would be a good time to preheat your oven to 190 degrees c and line a baking tray with greaseproof paper.

After it has rested a while take out your dough and using plenty of flour to dust the work surface and rolling pin roll out your dough to about a 2cm thickness. I cut mine out into rounds but you can use whatever shape that you like or stick to the traditional shapes such as fingers.


Bake in the oven for 10-12 minutes or until golden depending on the size and thickness of your biscuits. Leave to cool completely before removing from the sheet of greaseproof paper and demolishing your biscuits with a cup of (hibiscus) tea. 


Saturday, 20 September 2014

The piñata cake

For a Mexican themed party it would be silly to having anything less than piñata style cake. For this cake you will need:

Stage 1

Firstly bake two Victoria sponge cakes. Cut these in half so that you now have four halves.I baked mine a few days before construction as the finished cake will have a lot of moisture I wanted the sponges to have dried out a little

Stage 2

Measure the diameter of the cakes. Mine is 21cm and therefore I deduced that I should make a hole in the middle of the cake that measures about 11cm. I worked this out by measuring five centimetres away from the sides of the cake as although I wanted to create a large hole in the middle in which to fill with sweets I still want the cake to remain stable and not fall to pieces. If however the cake does split (like mine) don't worry as there will be lots of jam and cream to patch it up.


Using a compass draw a circle and cut it out.  You can now use this as a template  to cut out the middle of the second and third halves. If like me you can't find a compass try using a round object with a similar diameter to the hole you want to cut out.


Place all the sweets in a bowl and give them a good mix. I am doing this because I want to sweets to be randomised when I place them in the cake instead of having distinct layers of skittles, haribo and maoam.

Whip the cream and now the real construction starts.

Place the first layer on the cake stand and spread liberally with jam and cream before layering the first holey layer on top. Continue this process but only spread jam and cream on the cake leaving a hole in the middle.

Once the third layer is in place add 3/4 of the sweets. You want to make sure that the swets are not only evenly spread but also fill every nook and cranny as when the cake is cut the sweets will come bursting out.

The final layer of cake (without a hole) acts as a kind of lid encasing all the sweets inside. Spread the top with more jam and cream et voila stage 2 is complete. 

Stage 3


Make the butter icing. I am adding red food colouring to mine as I want it to be slightly pink. Cover the cake in icing including the sides as well as the top and decorate with the remainder of the sweets. My sister and her best friened  joined me in this as they clearly do not trust my decorating skills.