Showing posts with label baking mad. Show all posts

Thursday, 24 May 2018

A Masterclass with P&O Food Hero, Eric Lanlard

Things were about to get fluffy in the kitchen on the first full day of my P & O Food Heroes cruise to the Norwegian Fjords as this morning I was heading to the Cookery Club for a masterclass with Eric Lanlard! 


First, though, it was time for a quick trip around the ship. Taking a tour of the decks is one of the must-do items on the list of ‘things to do on the first day of a Cruise’ so that you can familiarise yourself with where everything is but I simply ran out of time yesterday. 


Leaving the tour until the morning is actually preferable as you have the ship pretty much to yourself, very useful if you want t take lots of pictures. 


As Norway is an hour ahead of British Summer Time, the ship’s clocks went forward at 2am in the morning. Ok, I thought, I’ll change the clock on my phone so that I don’t miss the masterclass. Ha ha ha.


Needless to say, it didn’t work, I woke up at 8am, thinking it was 7am and very nearly missed the start of the class….just kidding I was still there 15 minutes early. 


The cookery club, on deck 17 is right at the top of the ship and is ironically right next door to the gym. It has room for 24 people around 12 stations; that means 2 people to a bench.  


In the masterclass we were making lemon meringue cupcakes -oooh
apple shuffle -ooooh
and finally, white chocolate and passion fruit cake pops. 


We gathered around the front bench as Eric Lanlard demoed how to make the cupcake sponge and lemon curd. (We didn’t actually make the curd ourselves which I was a bit disappointed about but I guess the class would have gone one for a lot longer than three hours if we had.) 


On our workstations, all of the ingredients were weighed out ready for us to use and Eric Lanlard recommended that you always have your ingredients prepared like this before you start baking for precision and in the interest of being organised.  


There are two main ways of making cake pops, the method I use is spherical cake tins into which I then insert lollipop sticks once the cake is cooked and cooled. 

Alternatively, you can crumb a ready-made sponge cake into buttercream which you then roll into balls before freezing. 

Meanwhile, melt white chocolate over a Bain Marie (or microwave) and dip in the end of a lollipop stick into the chocolate until coated before inserting into the middle before returning the cake pop to the fridge/freezer. 

Once set, dip the cake pop into the chocolate and liberally coat before decorating with sprinkles or whatever else you want. Unfortunately, the kitchen may have been a bit too warm for our cake pops and which made dipping them problematic. I then went on to spill water on them and the chocolate didn’t quite set. 


Finally, the last dish that we did in the masterclass was an apple souffle. Readers of this blog will know that I learnt how to make a souffle du fromage at Le Gargantua last year so I was keen to try a sweet souffle, the problem was that calvados and I do not get along. Although the souffle mix looked alright before going into the oven, it didn’t cook properly so I’m just going to have to try the recipe again at home….sans the calvados. 

There's meringue in the bowl, just checking that those peakes are stiff enough.

After eating all those cake I joined my mother and father for a salsa class before heading over to the Live Lounge for ‘an audience with Eric Lanlard, where the world famous patissier shared stories about his incredible career. From working with Albert and Michel Roux to baking a cake for the Queen Mother. 


Saturday, 16 September 2017

5 Blackberry recipes that you might have been missing out on

The blackberry bushes near us are fit to bursting point which is why, when my father and I meandered down to the bramble bushes we returned with 2kg of the berries! What on earth was I going to do with all those blackberries? 


Instead of going for just the standard jam route I was keen to try something a bit different with my berries and to see just how far I could stretch my punnets.

Cake was definitely on the cards so I rustled up a simple sponge recipe and added 200g blackberries and baked at 180°c for 1 to 1 1/2 hour.  


Second I set some blackberries aside for a smoothie which I will make with kefir, a fermented probiotic culture that contains many beneficial bacteria and yeasts, yoghurt and a spot of honey to taste.

Chia Jam

When I first got to thinking about what to make with my multitude of blackberries, jam instantly jumped to mind yet I was a bit underwhelmed and the thought at making another batch of jam (we still have some of the blackcurrant stuff left) so I racked the internet’s brains for other ideas and this one kinda stuck.  


Obviously, it wouldn’t be me writing up recipes without experimenting and changing a few things so without further ado here's my take on chia jam:

You will need:

1.1 kg blackberries
100ml lemon juice
100m water
150ml honey
200g chia seeds

When you hydrate Chia seeds they become gelatinous, which, as some of the readers of my blog will now (or maybe you just know this anyway) is why they are often used as a substitute for eggs in baking. Following this thought process, it can be assumed that chia seeds can be used in jam making instead of sugar to set the set the jam. n.b. you will need to keep this jam in the fridge though and eat it within two weeks as it has not been preserved like jam has and therefore won’t last as long.

So yeah, I guess I lied, that whole last paragraph was further ado. 

Method:

In a pan boil the fruit and lemon juice for 3-5 minutes to soften the fruit. If like me, you realise at the last minute that you have in fact run out of lemons, use oranges. 


Mash the fruit using a fork, masher or blender depending on how fine you want your jam to be. 

Once boiling and bubbling away nicely stir in the honey.

Add the chia seeds and stir once only before removing from the heat and spooning your jam into sterilised jars.


Overnight Oats

Overnight oats are very in vogue with the health conscious,  clean eating fam so here’s my version featuring…you guessed it…blackberries.
As you’ve probably guessed from the name overnight oats require being made the night before as the cold oats steep in the milk overnight and require zero cooking, it's really really simple to make too. 

I’m actually going to go one step further with my super-easy overnight oats recipe because though some other recipes require a blender, mine doesn’t.

You will need:

65/70g oats - depending on how hungry you get in the morning
225ml almond milk
2 tbsp chia seeds
75g blackberries
2 tbsp of honey (to taste) 


Method:

Fill the base of your container, I'm using a jar with a handle with oats and pour the almond milk until it covers the oats (you made need more) 

Wham the other ingredients that you want to use in the jar and pop it in the fridge overnight. 


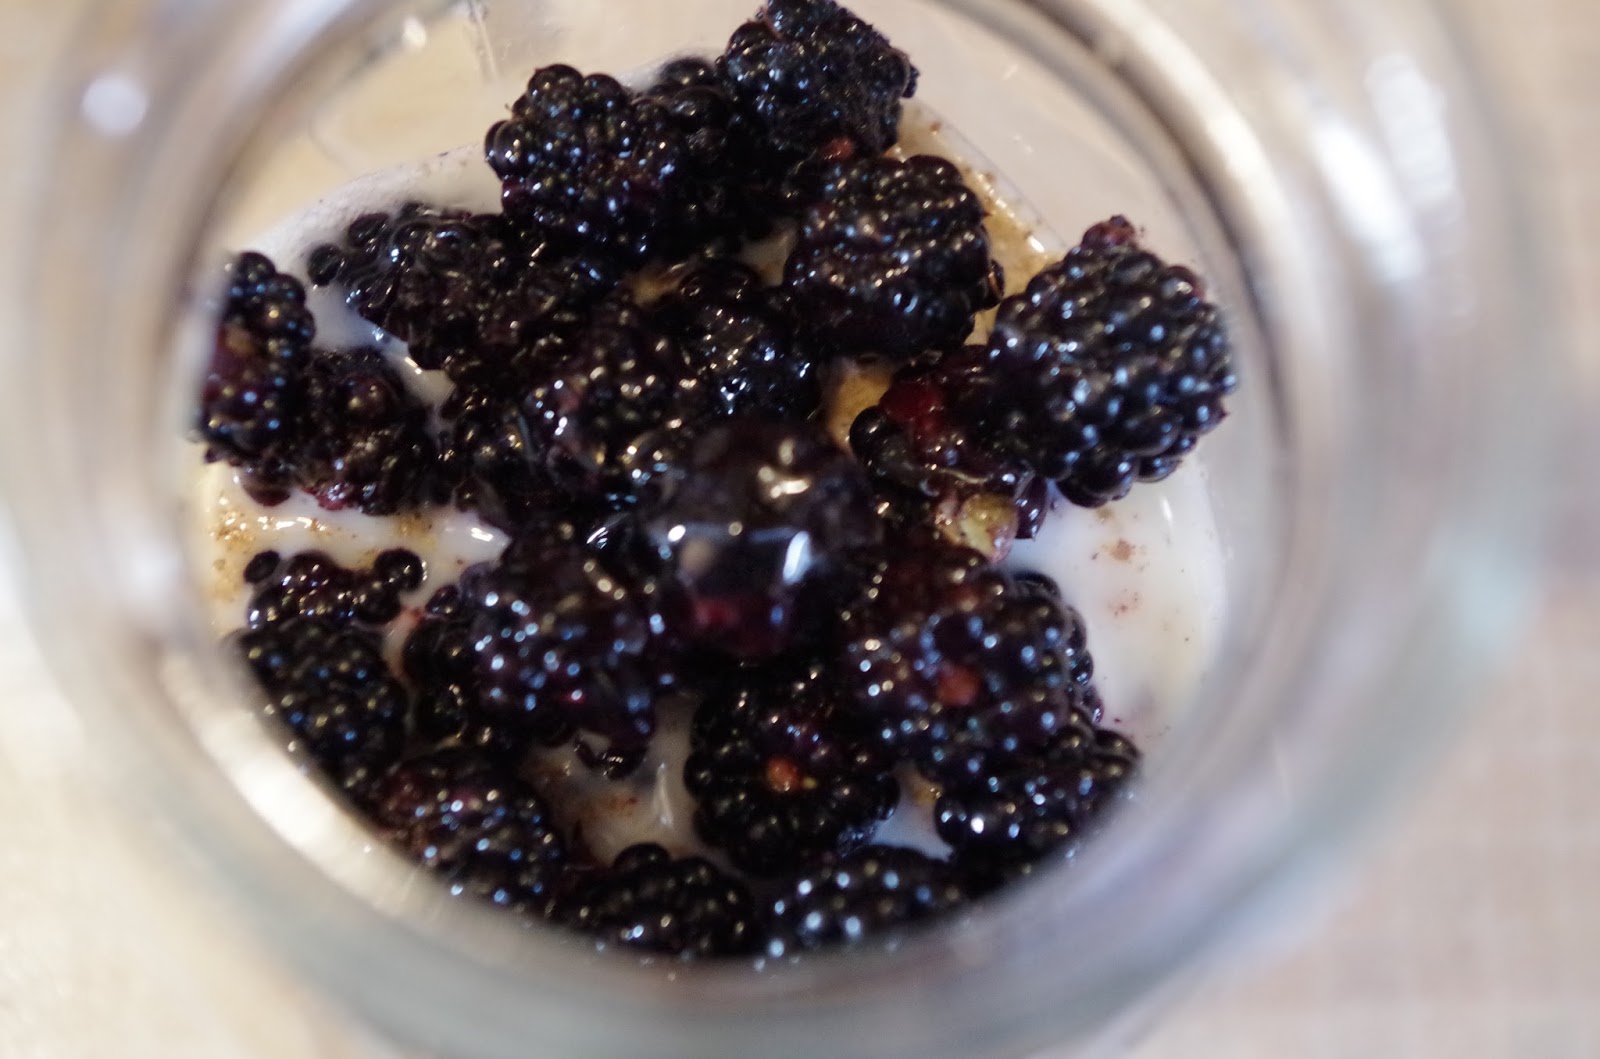
I decided to serve my overnight oats with a spoonful of the chia jam (see above)

Blackberry Brownies

The sharp, somewhat tart taste of blackberries works well with the rich flavour of dark chocolate and for the last recipe that I am going to share with you (on this post at least) marries these two flavours in deliciously moist brownies.

You will need:

225g sugar
113g butter (melted)
30g cocoa powder
1/2 tsp vanilla extract
1/2 tsp baking powder
125g plain flour
150-200g blackberries
30g walnuts (optional)
30g cocoa nibs (optional)

Method:

I’ve gone for another super-duper easy recipe for this one which is basically put everything in a bowl (except the blackberries) and mix well.  


Carefully fold in the blackberries trying not to burst them before you cook them. Spoon the mixture onto a lined tray and bake at 180°c for 20 -25 minutes. 


Monday, 28 August 2017

Sticky Toffee Cake and a Bake Off

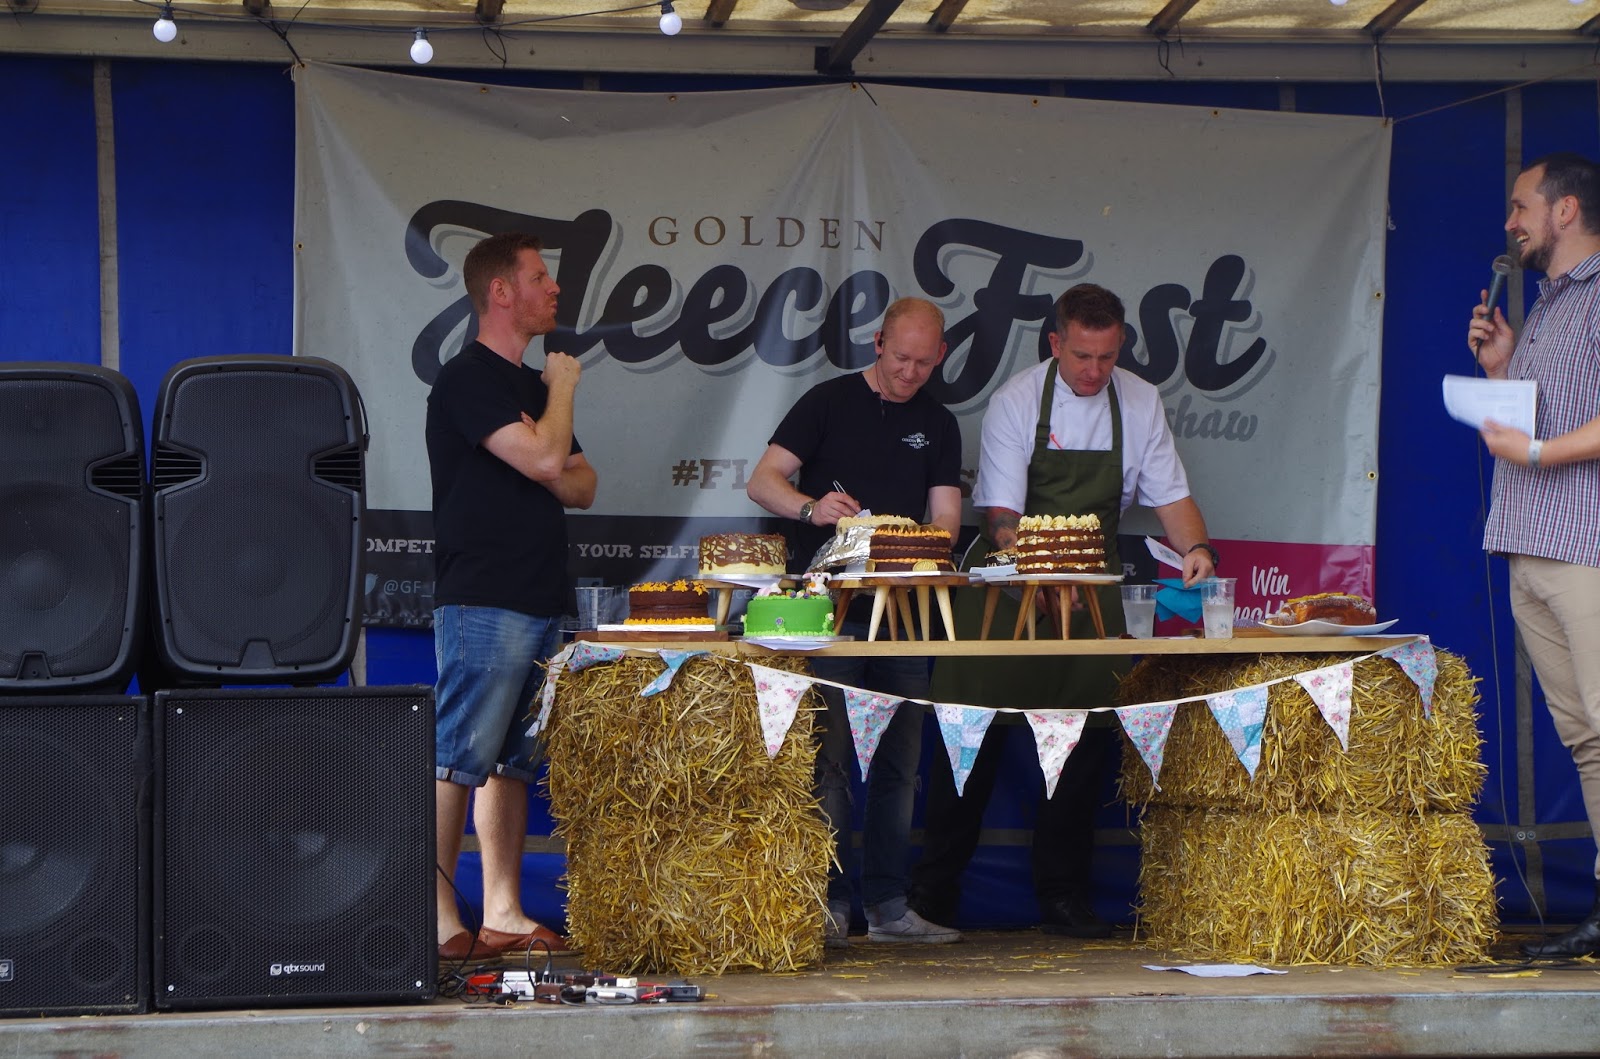
The Golden Fleece hosted the third annual Fleece Fest this bank holiday weekend and that meant it was time once again for the Great Birkenshaw Bake Off. 


My offering this year was to be a Sticky Toffee Cake and I set off down to pub full of hope yet these were soon to be dashed as cake upon cake arrived each looking better than the next. 


There seemed to be a common feeling in the air between this year’s bakers as similar recipe ideas kept cropping up, there were two chocolate orange cakes and even another sticky toffee cake to accompany mine. I knew I should have done that raspberry and pistachio cake that I had been planning.


Are you not going to take the bloody foil off?


There was new marking system in place this year, one which seemed to favour presentation and so although I had upped my decoration game this year, the piping even worked this time,  my cake still came up short.


Third places went to the Sticky Toffee Pudding cake, second to the Terry’s Chocolate Orange cake and the winning cake was the very elaborate fondant icing decorated ‘Down The Rabbit Hole Cake.’ 


As I was accompanied this year by both my mother and grandmother we took it up on ourselves to buy a slice of each of these winning cakes to take home to try. It turns out that I am a very harsh critic. 

I think he's trying mine
Does that look like a happy face? I can't tell


To make your own Sticky Toffee Cake you will need:

For the cake:

400g prunes/dates
500ml tea
250g butter
400g sugar
6 eggs
1tsp bicarb 
4tbsp golden syrup
500g self-raising flour

Start by preheating the oven to 180 degrees c and lining a deep cake dish with greaseproof paper. 

Finley chop the dates and prunes and soak in hot tea for about 10 minutes

Cream the butter and sugar

Slowly add to the mix your syrup, bicarb, eggs and fruit as well the flour, folded in a spoonful at a time. At this stage, I divided the mixture into two, one-half for the competition and the other half for my mother’s birthday cake. 

To this second batch, I also added 50g walnuts. 


Bake in the oven for 55 minutes (maybe longer depending on the size of the tin) or until it brings back and an inserted skewer comes out clean.

Saturday, 15 July 2017

4 ways to use your blackcurrant harvest this year

Despite having lived in the same house for practically my whole life it wasn't until a few years ago that we discovered that that bush down at the bottom of the garden is actually a blackcurrant bush.


No surprises then as to whose job it is to go and collect said blackcurrants. Dropping the punnet halfway through and falling into the bush not required but they happened anyway.

After two hours of picking two pints of the fruit, I returned to the kitchen for the fun job of removing the stalks and was faced with the dilemma of what to do with the blackcurrants now that I had them.

As some of the beady eyed amongst you may have noticed I managed to stretch my blackcurrants quite far making not 1, not 3 but 4 items including jam, cordial, scones and sorbet.

Sorbet

Well actually I just stuck some of the blackcurrants in the freezer to make sorbet at a later date but that still counts right?

Jam

For the jam, I used this simple recipe from the BBC which uses the same amount of blackcurrants to sugar as well the juice of one lemon. Boil the jam until it reaches 105 degrees Celsius or (if you don't have a fancy sugar thermometer (I don't) you can do the saucer test to see if your jam is ready.

Place a small spoon of your jam onto a saucer and tilt the plate so that the jam runs. The aim is that your jam will have set and should not drip down the plate. If it does drip, however, let it boil for a few minutes longer.


Cordial

Because you can't have blackcurrants without Ribena right? My intention was to halve this recipe  yet after adding the right amount of both blackcurrants and sugar I then completely forgot about the whole 'halving the recipe' thing and proceeded to pour in the full 300ml of water and 2 zest and juices of lemon so that my version of the cordial actually tastes a bit more like lemonade than Ribena.

Scones

Finally, I turned my intention to making scones to go with my jam yet mine had the addition of blackcurrants which added a lovely tart flavour and a spot of colour.


Sunday, 11 September 2016

Banana Breakfast Muffins


I was inspired this week to try out the September recipe from Waitrose; Spiced Banana Loaf. This new twist on a classic recipe uses the somewhat unusual ingredient of Weetabix…..yeah I didn’t really get it either. 


Anyone who has ever had Weetabix for breakfast, lunch,dinner, supper e.t.c. before will know that they soak up the milk like nobody’s business. I mean leave the room for like two minutes and its like - wheres the milk gone? With this idea in mind Weetabix would actually be a pretty decent baking ingredient as it soaks up liquid and binds your mixture together. 

For this cake you will need: 

3 Weetabix crumbled 
100g sultanas
150ml milk
250g light brown sugar
2 eggs
2 ripe bananas
120g melted butter
150g self-raising flour
1tsp bicarbonate of soda
1tsp ground cinnamon
1tsp ground ginger

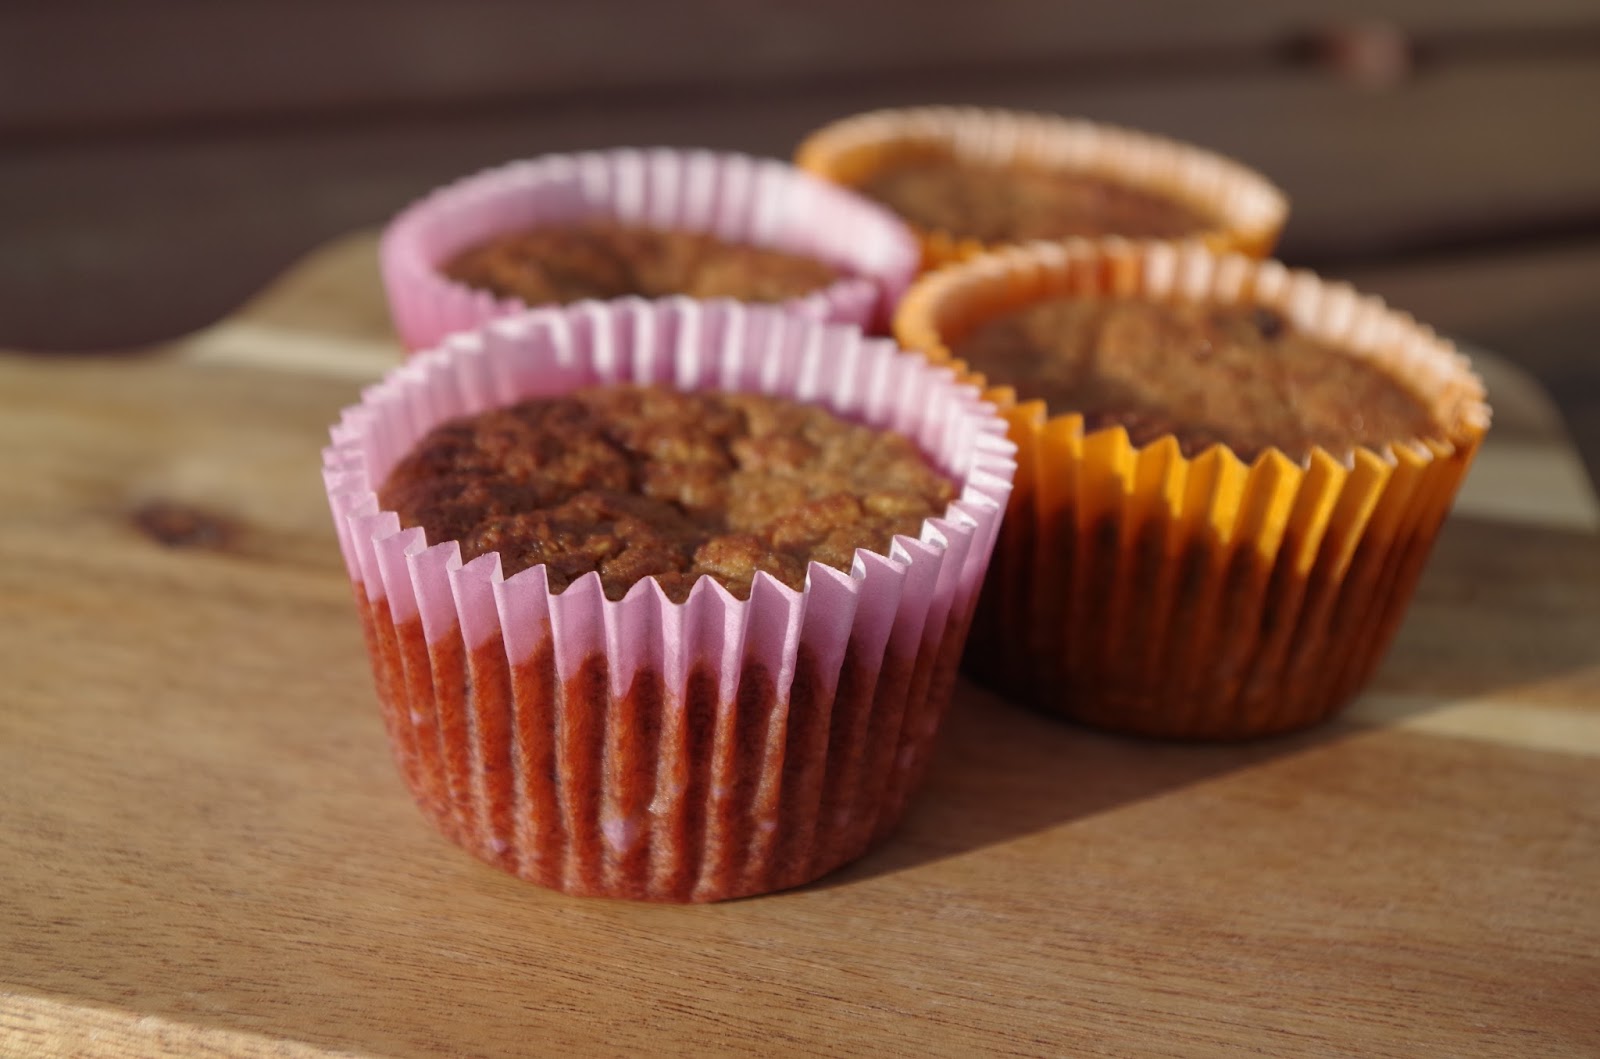
However I revised the ingredients list a bit and added muesli - mostly because I was short on sultanas as well as nutmeg and cranked up the volume on the spices.  I decided to make muffins instead of (ok maybe as well as) a loaf and as they contain not one but two different varieties of breakfast cereals they would be to the perfect way to break your fast in the morning. 


When making a banana  cake of any variety I like to use frozen bananas as i believe that once frozen taste more bananary? Anyone know why this is?

Preheat the oven to 170c and prepare the muffin tin. I’m using bright and colourful muffin cases because who doesn't love to be woken up with bright bold colours……actually don’t answer that.

For the first step crumb your Weetabix in a bowl - as this will disintegrate when cook anyway you don't need to worry about living it a bit chunky. Add the sultanas and/or muesli and cover with milk. Set aside until all of the milk is soaked up. 

Meanwhile which the sugar and eggs until light and fluffy before adding the butter, flour, bicarb, spices. I also added pecans and walnuts to add extra texture. Combine well. 

Lastly stir in the Weetabix mixture before distributing evenly in the muffin cases. 


Bake for 40-45 minutes. 


Monday, 29 August 2016

The Bake Off take 2

The Fleece Fest at The Golden Fleece in Birkenshaw returned for its second year this bank holiday weekend and it was even bigger and better! Over the three days, we have seen beer and champagne pong, the ‘golden games’ competition and the coveted Great Birkenshaw Bake Off. 


After last year’s failed attempt I was keen to show off what I could do and so decided to take a classic recipe for a spin…or something like that. 

It was to be my mother’s birthday that weekend as well for which I was making a carrot cake so as I had a multitude of carrots in the house already I decided to base my recipe on these vegetables. 


My carrot and cardamom recipe is based on this one and I was very pleased with how it came out (I made extra cupcakes with the same mixture so that I could taste it) yet I was at a bit of a loss how to decorate it. 

As the cake itself is full of flavour I decided to go for simple decoration - obviously, this was my reason, not the fact that I am totally useless at cake decorating. I made a lemon buttercream and topped it with a mixture of lemon and orange peel.

The bake off judging was to be at 2 pm so I arrived in good time with my cake and my entry form and proceeded to wait….and wait….and wait some more. 

It was with a heavy heart that I placed my humble offering on the table with the other entries including a Pina Colada cake and even the ‘Pig - feast which involved little pigs wallowing in (chocolate) mud.

There were two categories this year: the junior bake off and the adult Bake Off and some of the kids' entries were very impressive. Congratulations to Bethy for her winning creation. 

The competition was due to be held in a tent next to the gin bar yet because there was such a large turn out at the event the decision was made to move proceedings to the stage. A flaw in this plan was the kids’ entries and all the rest of them got a bit mixed up. 


First up on the judging table was the Pina Colada cake -without the rum, many people sad about this fact.

The Rhubarb and Custard cake was next up: this cake was undecorated and relied purely on taste. Unfortunately, I thought that the flavour could have done with being a bit stronger. (I tried some of this afterwards.)

The Pig-Feast cake was chocolatey as it looked; perfect for little piggies.

Next up was the Celebration cake. this was a celebration of all things chocolatey although in the baking hot sun it was looking a bit sad- still tasted good though.

Last but not least was my carrot and cardamom cake. I guess that there must have liked the strong flavour and moist texture from the carrot because....

The judges faced a hard decision and it proved to be just a little bit too hard as there was a joint winner. The Celebration cake…..and me. 

Yes really ME!!!

Thursday, 16 June 2016

Banana and blueberry muffins

It's national cupcake day! So to mark the occasion I'm making muffins....


Before I could start I had to ask myself what kind of muffins did I actually want to make? Initially I was thinking about a classic blueberry muffin - I mean who doesn't like a fresh batch of blueberry muffins.


We have lots of bananas in the house though so I need to use them......and chocolate chips....ooh the possibilities are endless.

Some differences between cupcakes and muffins are really quite obvious even before you have taken a bite. Muffins are large and mostly undecorated whilst cupcakes tend to be a bit on the smaller side and are often decorated with icing or frosting, sometimes lavishly.

However the main difference between the two sweet treats is that cupcakes follow a cake recipe whereas muffins follow more of a bread type recipe. The creaming method is hardly ever used when making muffins whilst it is most common in cupcakes; this is because the cupcake needs to be light and fluffy and therefore requires a lot of air to be incorporated into the mixture.

Therefore you can tell the difference between a cupcake and a muffin by its texture: cupcakes are light and fluffy whilst muffins have a thicker, denser texture.

Similarly cupcakes tend to contain more sugar (and thats not just because of all that icing. So if asked for a 'healthy bake' steer towards to muffin spectrum.


I have based my recipe roughly on this one by the Hairy Bikers yet true to form the actual recipe used varies quite a bit.

Now when I researched different recipes using banana they all said to mash it: I imagine this is because it gives the mix a more uniform banana flavour. I however decided to ignore this and slice them instead, thus adding an element of surprise when you come across a pocket of banana.

I chopped my walnuts into irregular chunks for the same reason.


For the muffins you will need:

250g self raising flour
1/2 tsp baking powder
2 ripe bananas (sliced)
150g blueberries
100g white chocolate chips
185ml milk
6 tbsp honey or sugar if you prefer
50g butter (melted)
50g walnuts (roughly chopped
1 egg

Preheat the oven to 180C

Line a cupcake tray with paper cases

Add the flour and baking powder into a large bowl making a well in the centre.

Pour in the melted butter, milk, honey and lastly the egg. Stir until incorporated.

Fold in all the additional ingredients being careful not to over stir the fruit as you will bruise the fruit and cause the juices to come pouring out.

Transfer into the cases and bake for 17-20 minutes.


Saturday, 9 April 2016

Matcha Ginger Cheesecake


Eat Clean Tea’s new flavour combinations add that extra zing of flavour and I am totally loving the Matcha Ginger. As well as drinking it, matcha,which is ground tea powder is ideal for baking. 

I’ve never made a baked cheesecake before but they say go hard or go home so here’s my recipe for matcha ginger cheesecake with pear glaze. 

For the base you will need:
75g ginger nuts
75g digestive biscuits
50g butter 

For the cheesecake:

400g cream cheese 
2 eggs
2tsp matcha ginger
100g maple syrup

For the glaze:

1 pear
1 tsp sugar
a pinch of ground ginger. 

Preheat the oven to 180 degrees C

Grease the moulds or if (like me) you are making mini cheesecakes the mini cupcake tray.

I”m using half and half digestive biscuits and ginger nuts so the ginger flavour is not too overpowering. Grind the biscuits into crumbs in a food processor or go for the old school method and whack the biscuits in a bag with a rolling pin. 


Melt the butter and stir into the biscuits. Spread the base in the moulds and bake for 5 minutes

Turn the oven down to 150 

Place the cream cheese and most of maple syrup in a bowl and stir until fully combined slowly adding the eggs one at a time. 


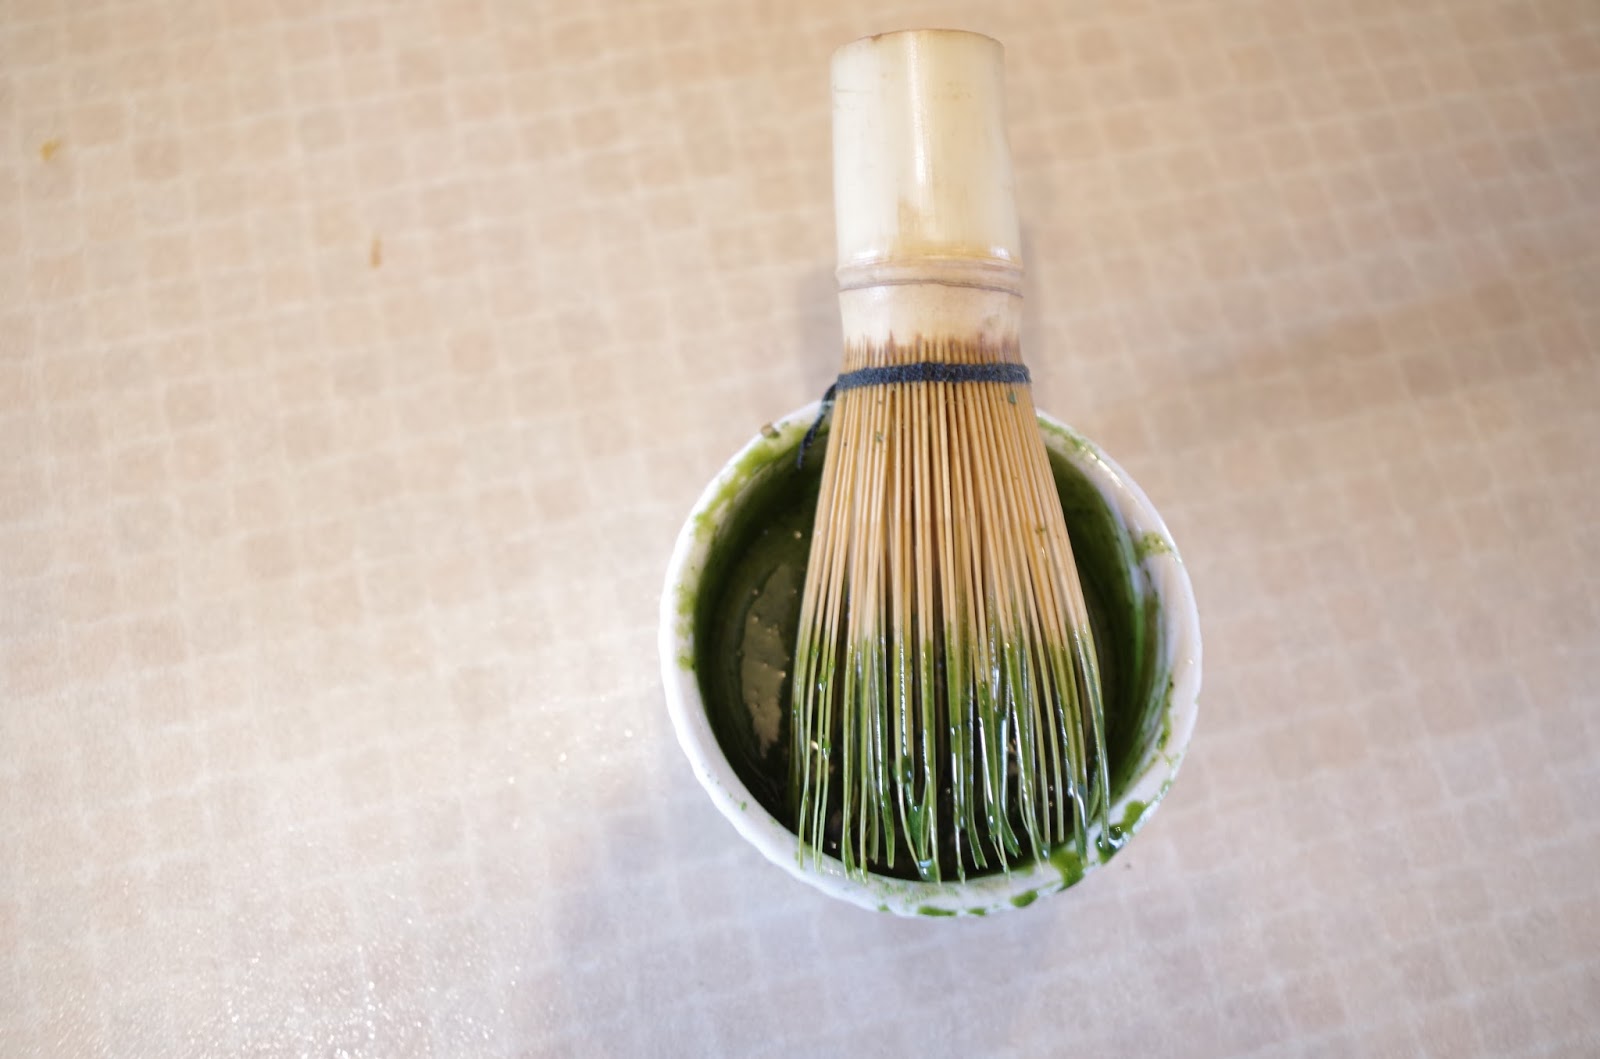
Whisk the matcha with the rest of the the maple syrup. Fold into the mixture but be careful not too over mix. 


Bake for 20 minutes.

Chop up the pear and place in the pan with the sugar and ginger.  Boil for 10 minutes. 


Decorate the cake/s and enjoy.