Showing posts with label recipes. Show all posts

Sunday, 11 September 2016

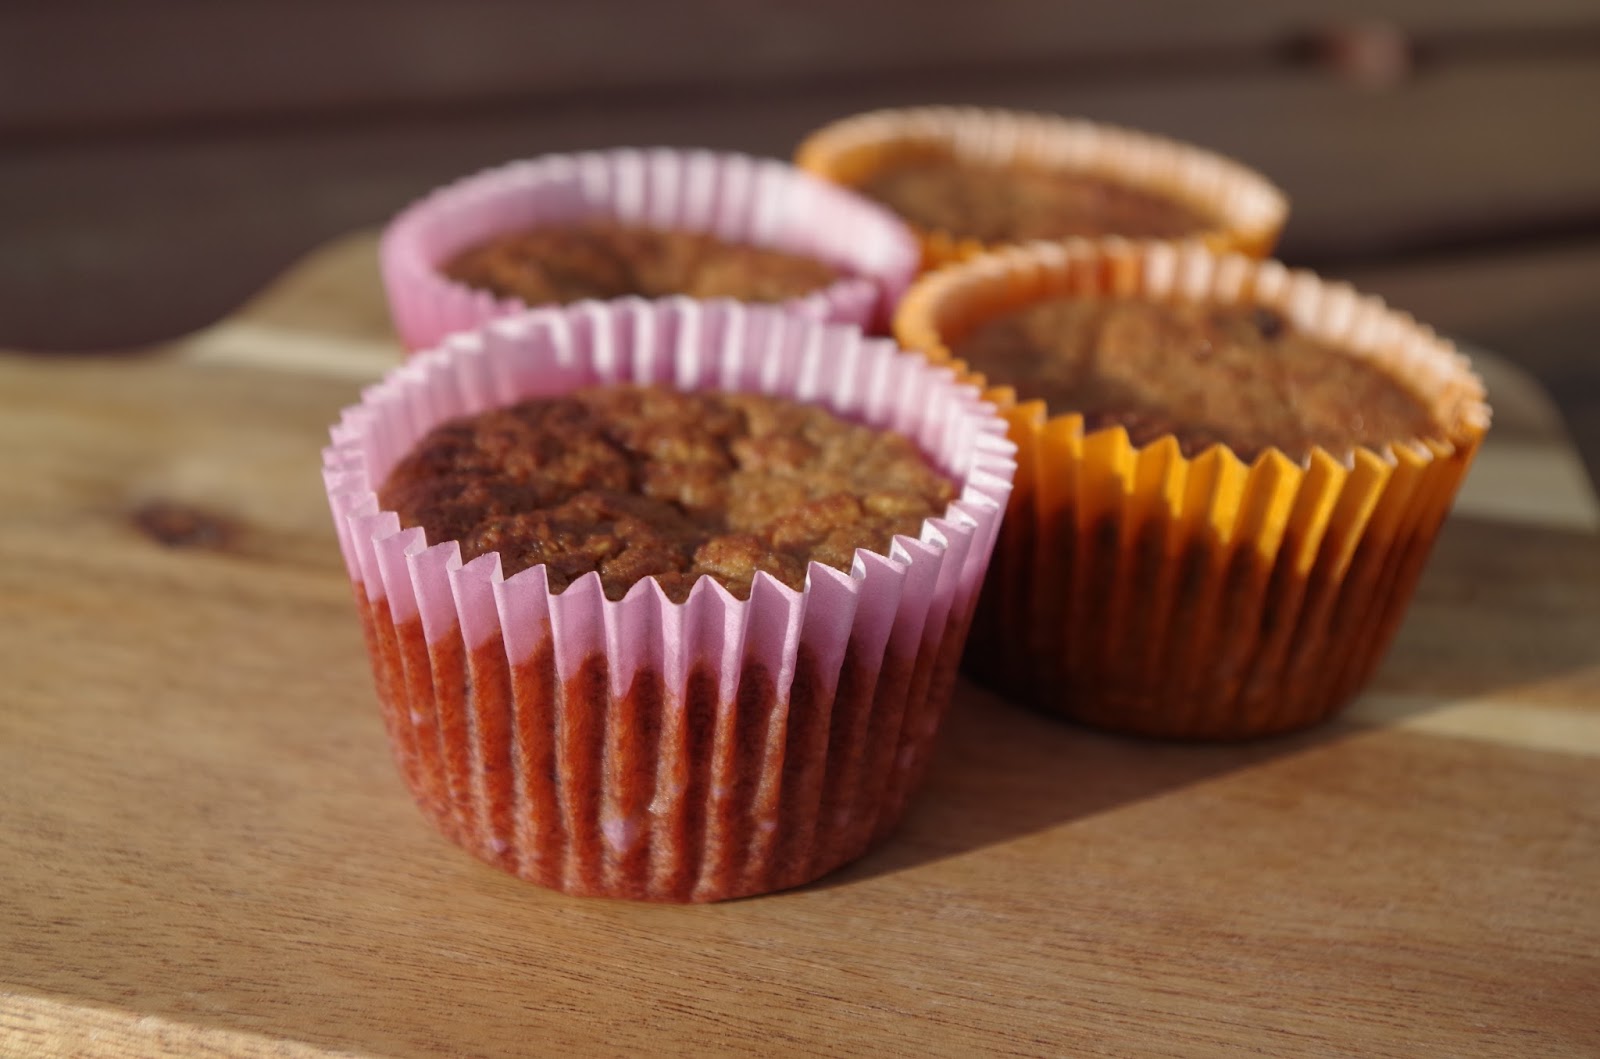
Banana Breakfast Muffins


I was inspired this week to try out the September recipe from Waitrose; Spiced Banana Loaf. This new twist on a classic recipe uses the somewhat unusual ingredient of Weetabix…..yeah I didn’t really get it either. 


Anyone who has ever had Weetabix for breakfast, lunch,dinner, supper e.t.c. before will know that they soak up the milk like nobody’s business. I mean leave the room for like two minutes and its like - wheres the milk gone? With this idea in mind Weetabix would actually be a pretty decent baking ingredient as it soaks up liquid and binds your mixture together. 

For this cake you will need: 

3 Weetabix crumbled 
100g sultanas
150ml milk
250g light brown sugar
2 eggs
2 ripe bananas
120g melted butter
150g self-raising flour
1tsp bicarbonate of soda
1tsp ground cinnamon
1tsp ground ginger

However I revised the ingredients list a bit and added muesli - mostly because I was short on sultanas as well as nutmeg and cranked up the volume on the spices.  I decided to make muffins instead of (ok maybe as well as) a loaf and as they contain not one but two different varieties of breakfast cereals they would be to the perfect way to break your fast in the morning. 


When making a banana  cake of any variety I like to use frozen bananas as i believe that once frozen taste more bananary? Anyone know why this is?

Preheat the oven to 170c and prepare the muffin tin. I’m using bright and colourful muffin cases because who doesn't love to be woken up with bright bold colours……actually don’t answer that.

For the first step crumb your Weetabix in a bowl - as this will disintegrate when cook anyway you don't need to worry about living it a bit chunky. Add the sultanas and/or muesli and cover with milk. Set aside until all of the milk is soaked up. 

Meanwhile which the sugar and eggs until light and fluffy before adding the butter, flour, bicarb, spices. I also added pecans and walnuts to add extra texture. Combine well. 

Lastly stir in the Weetabix mixture before distributing evenly in the muffin cases. 


Bake for 40-45 minutes. 


Sunday, 17 July 2016

Why aren't my cookies chewy?

You would think that baking cookies would be really simple but there my friend you would be mistaken because if you want to recreate the soft, chewy cookies that you would find at a bakery or shop, well I don’t want to say that it is an exact science….but it kind of is.


Generally speaking I have found there are two different types of biscuits:

  1. the traditional shortbread type 
  2. cookies: either of the chewy or crunchy varieties

Obviously there are many variations with different flavours and textures etc. yet the main difference in these two types that I have noticed is the addition of an egg or two.

Egg-actly the right amount

Eggs are used in baking for a variety of reasons including leavening, structure or binding, richness and even colour. Adding an extra yolk, as I will be doing in my recipe later on, will give my cookies a richer flavour and adds the moisture that helps to keep the cookies soft.

Type of sugar

A lot of cookie recipes that I have seen ask for you to use two different sugars and this is not just because they want to make your life more difficult. Cookies made with white sugar or sweetener have the tendency to be hard and crunchy whereas if you use brown sugar or molasses; hey presto yummy soft cookie.

A mixture of both will give you the best of both worlds.

Chill your dough

Cookie dough that has just been mixed and is still slightly warm is more likely to spread out in the oven. If your cookies are too thin they will no doubt be crunchy.  As with most dough based recipes I find that is always a good idea to chill the mix in the fridge for half an hour .


Cooking time

If you leave the tray in the oven just a moment too long your soft chewy cookies will be ruined so remember what Mad Eye Moody taught you: constant vigilance.

Remove the cookies from the oven when they are lightly golden around the edges yet still soft on top. They will be very soft to the touch so leave them to rest on the baking tray (they may still be cooking at this point) before moving to a cooling rack.

Right well now we’ve covered all of that troubleshooting stuff its about time that I let you in on the recipe right?

250g plain flour
2g baking powder
170g (melted) butter
200g brown sugar
100g caster sugar
1tsp vanilla extract
1 egg
1 egg yolk
325g chocolate chips/chunks 


Cream the butter and sugars in a bowl until light and fluffy. 

Beat in the eggs and vanilla before adding in the flour and baking powder. 

Stir until combined.

Finally add the chocolate chips or whatever else you are putting in the cookies.

Chill the dough in the fridge for half an hour 

Preheat the oven to 170c

Spoon a heaped teaspoon or walnut sized blob onto a baking tray but don’t flatten it or try to make it look even as the flatter the cookie the more likely it is to be crunchy.


Bake for 15-17 minutes or until lightly golden around the edges.

Remove from the oven but leave the cookies on the tray for a few minutes as they are still cooking and are very soft. If you try to move them too soon your cookies will break.


Thursday, 16 June 2016

Banana and blueberry muffins

It's national cupcake day! So to mark the occasion I'm making muffins....


Before I could start I had to ask myself what kind of muffins did I actually want to make? Initially I was thinking about a classic blueberry muffin - I mean who doesn't like a fresh batch of blueberry muffins.


We have lots of bananas in the house though so I need to use them......and chocolate chips....ooh the possibilities are endless.

Some differences between cupcakes and muffins are really quite obvious even before you have taken a bite. Muffins are large and mostly undecorated whilst cupcakes tend to be a bit on the smaller side and are often decorated with icing or frosting, sometimes lavishly.

However the main difference between the two sweet treats is that cupcakes follow a cake recipe whereas muffins follow more of a bread type recipe. The creaming method is hardly ever used when making muffins whilst it is most common in cupcakes; this is because the cupcake needs to be light and fluffy and therefore requires a lot of air to be incorporated into the mixture.

Therefore you can tell the difference between a cupcake and a muffin by its texture: cupcakes are light and fluffy whilst muffins have a thicker, denser texture.

Similarly cupcakes tend to contain more sugar (and thats not just because of all that icing. So if asked for a 'healthy bake' steer towards to muffin spectrum.


I have based my recipe roughly on this one by the Hairy Bikers yet true to form the actual recipe used varies quite a bit.

Now when I researched different recipes using banana they all said to mash it: I imagine this is because it gives the mix a more uniform banana flavour. I however decided to ignore this and slice them instead, thus adding an element of surprise when you come across a pocket of banana.

I chopped my walnuts into irregular chunks for the same reason.


For the muffins you will need:

250g self raising flour
1/2 tsp baking powder
2 ripe bananas (sliced)
150g blueberries
100g white chocolate chips
185ml milk
6 tbsp honey or sugar if you prefer
50g butter (melted)
50g walnuts (roughly chopped
1 egg

Preheat the oven to 180C

Line a cupcake tray with paper cases

Add the flour and baking powder into a large bowl making a well in the centre.

Pour in the melted butter, milk, honey and lastly the egg. Stir until incorporated.

Fold in all the additional ingredients being careful not to over stir the fruit as you will bruise the fruit and cause the juices to come pouring out.

Transfer into the cases and bake for 17-20 minutes.


Friday, 6 May 2016

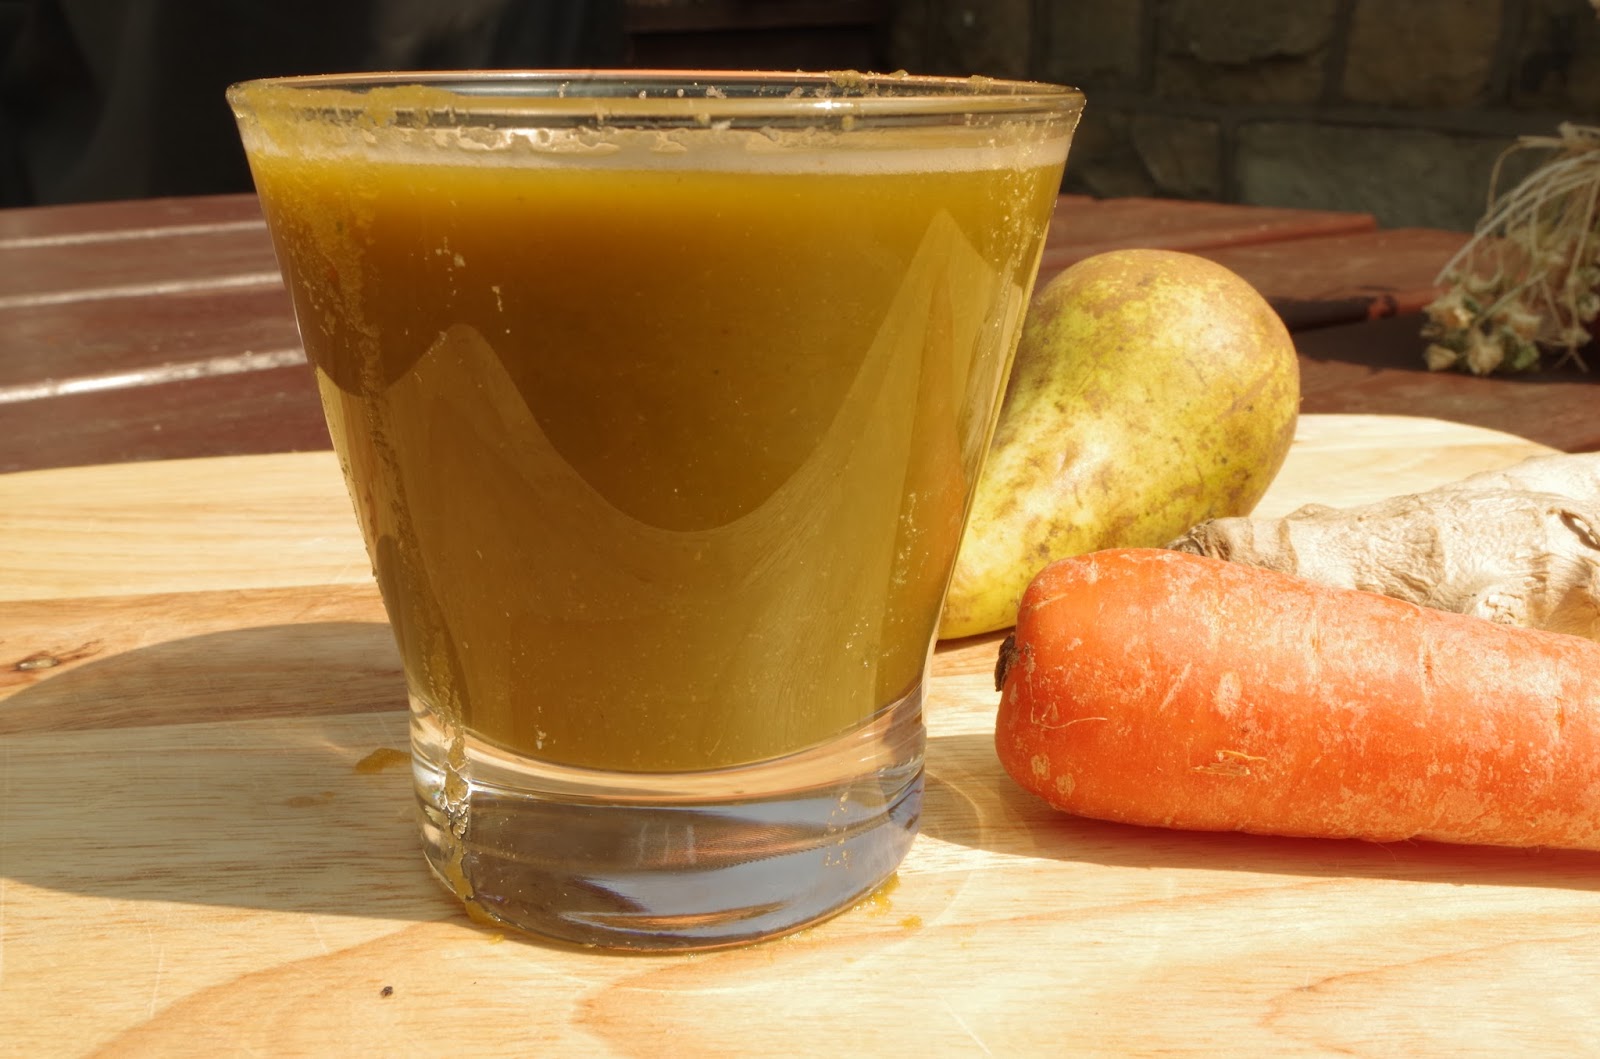
Summer Of Matcha: Matcha Ginger Zinger

I'm taking part in EatCleanTea's 'Summer Of Matcha' challenge to concoct a refreshing summery drink that isn't full of additives, sweeteners and stuff that is generally bad for you.  However true to form things started to go a bit pear shaped.....and not just because I was using a pear.


My recipe is based on the Matcha and Ginger  variety so I started things off by brainstorming flavours combinations for my juice and finally decided on  ginger (from the matcha) + lemon + carrot.  plus extra stuff but more on that later.

Ginger and lemon are both sialagogues meaning that they increase the flow of saliva and other gastric juices i.e. are good for digestion. These ingredients with the added goodness of the carrot make the juice good for cleansing plus its also a diuretic so go flush those toxins away.

This recipe took some trial an error to get it right; I mean first I put in too much lemon juice and it was too lemony so I added more ginger....

Yet as the name suggests the 'matcha and ginger' already contains the ginger so I actually just ended up with very a strong and spicy flavour. I tried to counteract this by adding spinach and extra water but nevertheless have a strong juice that whacks a punch to be quite honest (as long as you don't over dilute it)

Anyway to make this tart yet detoxifying juice you will need

  • 2-3 carrots
  • 1 pear 
  • juice of half a lemon (or you could do what I did and use a whole rather large lemon and then panic and put lots of ginger in to cover u your mistake)
  • 400ml water
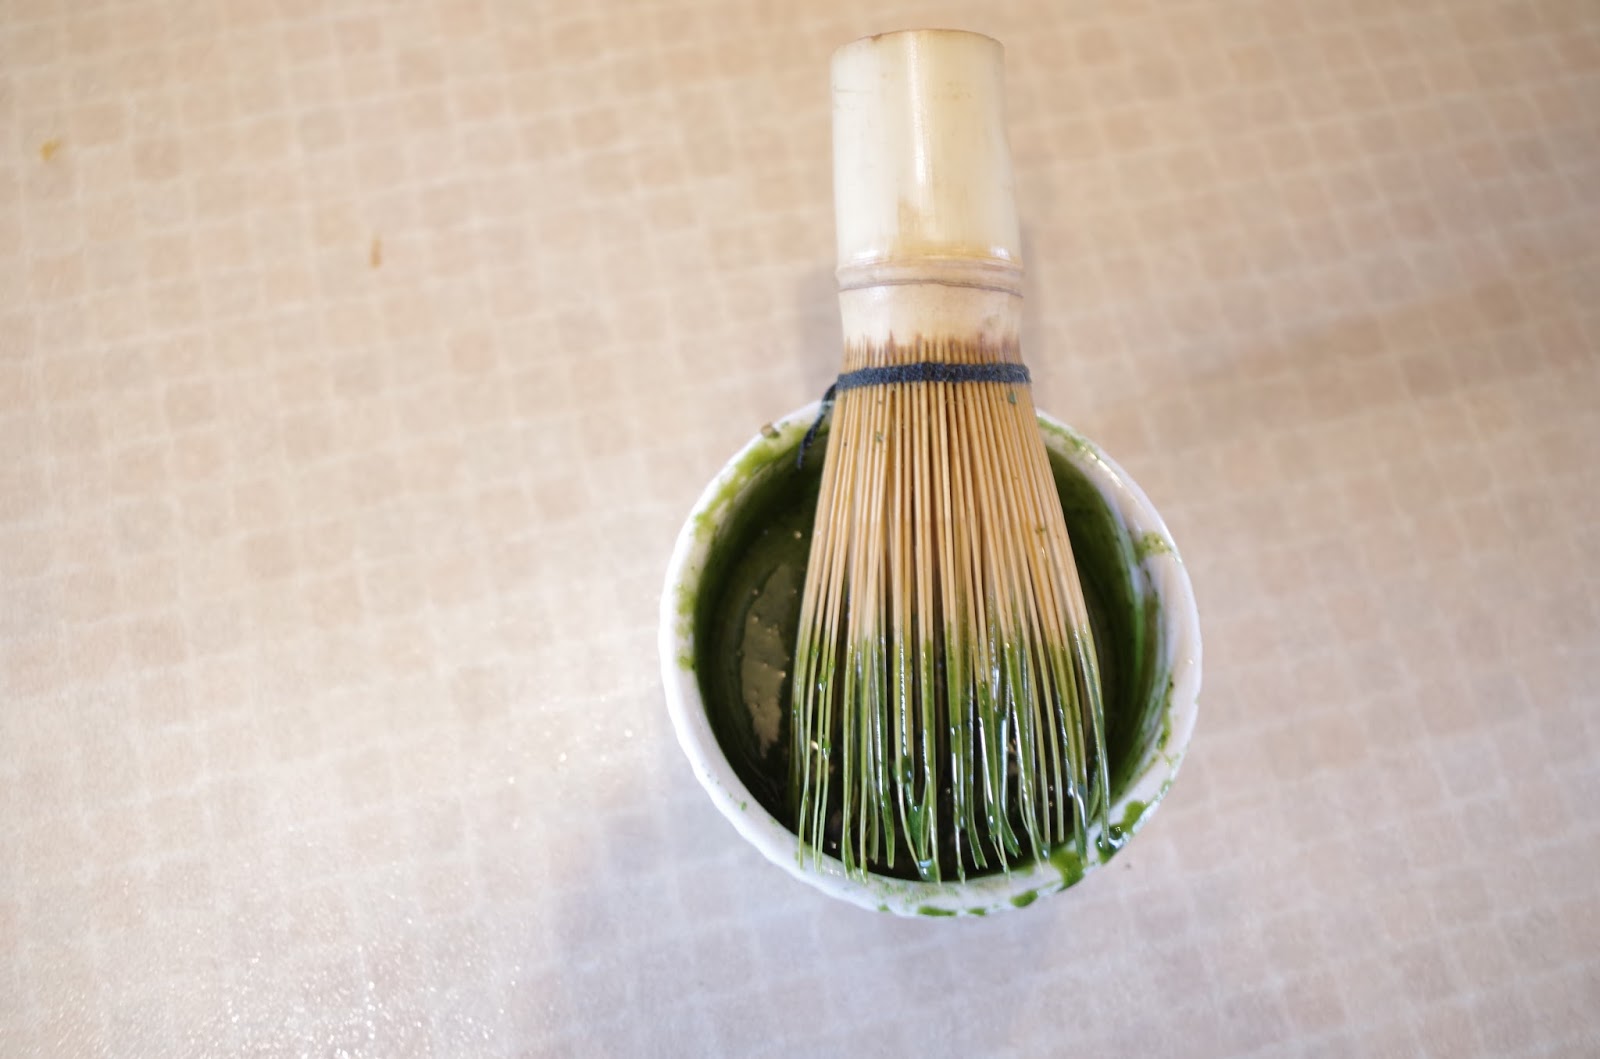
  • 1 tsp matcha and ginger
  • a handful of spinach
  • 4-6 ice cubes

Add all your ingredients to blender ( I used a Vitamix) and whizz until smooth. I have not peeled my fruit and veg (besides the ginger) and therefore my juice is a bit 'bitty'


Saturday, 9 April 2016

Matcha Ginger Cheesecake


Eat Clean Tea’s new flavour combinations add that extra zing of flavour and I am totally loving the Matcha Ginger. As well as drinking it, matcha,which is ground tea powder is ideal for baking. 

I’ve never made a baked cheesecake before but they say go hard or go home so here’s my recipe for matcha ginger cheesecake with pear glaze. 

For the base you will need:
75g ginger nuts
75g digestive biscuits
50g butter 

For the cheesecake:

400g cream cheese 
2 eggs
2tsp matcha ginger
100g maple syrup

For the glaze:

1 pear
1 tsp sugar
a pinch of ground ginger. 

Preheat the oven to 180 degrees C

Grease the moulds or if (like me) you are making mini cheesecakes the mini cupcake tray.

I”m using half and half digestive biscuits and ginger nuts so the ginger flavour is not too overpowering. Grind the biscuits into crumbs in a food processor or go for the old school method and whack the biscuits in a bag with a rolling pin. 


Melt the butter and stir into the biscuits. Spread the base in the moulds and bake for 5 minutes

Turn the oven down to 150 

Place the cream cheese and most of maple syrup in a bowl and stir until fully combined slowly adding the eggs one at a time. 


Whisk the matcha with the rest of the the maple syrup. Fold into the mixture but be careful not too over mix. 


Bake for 20 minutes.

Chop up the pear and place in the pan with the sugar and ginger.  Boil for 10 minutes. 


Decorate the cake/s and enjoy. 


Friday, 19 February 2016

What to do with an aloe vera plant.

There's loads of health benefits about aloe vera like it being an anti-inflammatory, detoxifying and helping the immune system, aids hair growth, lowers cholesterol and blood sugar yada yada yada.


Hence why we got ourselves an aloe vera plant. It has however been sat in our downstairs bathroom not really doing anything since the day we bought it.

Today was going to be that day that that changed....although in hindsight I may just abandon it to its place in the bathroom after this afternoon's palaver.


So the first thing that you need to do is extract the gel from inside the leaves. Simple....or so they thought.

Take your leaf and top and tail it, you can come back to those pieces but I found that smaller the piece is the more control you will have.

Cut of of the spiny side bits and you will be able to see the gloopy inside.


This is where things get sticky.


Using your knife take off the bottom and top leafy layers until you are left with only a clear jelly. cut off any excess green stuff.

Eh viola that's how you extract aloe gel/sap

Cool so now I've got this stuff in my fridge, what do I do with it now?

Well I'm glad you asked that because I've got some ideas to run by you.

Aloe Vera Water

Coconut water has seen a huge rise in popularity in the last few years and it has been hotly debated whether or not aloe water will take over.

Indeed aloe water has more of a kick to it than coconut water; think slightly more bitter. This is why I combined mine with a smidge of Eat Clean Tea's matcha powder.

What you'll need:

A blender (I used a Vitamix)

1 glass of water

2 tbsp aloe gel

1/2 tsp matcha


give it a little whizz and serve with ice


Aloe Vera Oil

Aloe Vera is widely used in beauty products indeed my favourite range from The Body Shop is the aloe collection. If you have sensitive skin you are bound to find it in the ingredient list of a very great many of the products you use.

So the question is how does the beauty industry get the sap from a plant into moisturisers, cleansers, exfoliators, lotions and potions oh my! The answer...in a oil


For this ridiculously simple oil you will need

2tbsp aloe gel

2tbsp coconut oil

you could also add a few drops of essential oil if you wanted to.

Gently heat the ingredients in a pan for about ten minutes.

You may need to sieve the gel a few times so that you don't end up with lumpy oil.


Sadly I have used up my supply of aloe gel in these two recipes so will have to start again from scratch next time....bummer.


Friday, 4 December 2015

Matcha and Almond Christmassy Shortbread


To achieve green Christmas tree biscuits I find that you either have to use ridiculously bright icing or indeed lots of food colouring, (unless you are actually using paste because that stuff is STRONG…I mean it did stain my tongue once.)  In the battle to try and cut down on the number of E-numbers and artificial stuff that we injest. Cue the matcha tea.  


This green tea powder works well in baking and will give my Christmas trees a lovely shade of green….well hopefully.  

So first things first, let's gather the ingredients together. I shall be making almond shortbread so will need:  

  • 175g mix of flour and ground almonds. You can use this in any ratio that you want to i.e. 125g flour and 50g almonds or indeed 100g flour and 75g almonds. I will be using the latter quantities however you will need to use flour on a roughly half and half basis to keep the consistency and to make it easier when rubbing in. 
  • 125g caster sugar or light brown sugar if you prefer 
  • 55g butter 
  • 1/2 tbsp matcha green tea 
  • 25g goji berries (optional) I'm adding some goji berries to my mixture to create baubles on my Christmas tress.  

So I haven't even started yet and I've already encountered my first problem: I have no ground almonds. Alas fear not as I have a bag of whole almonds and using my trusty Bamix can use the wet and dry grinder to make ground nuts.  I'm leaving mine a little rough for the texture. 


Next put all the ingredients bar the matcha and goji berries (if using) in a large bowl and rub in. I am using a knife to cut my butter into small pieces before starting to make the process easier. 


 As you are not making a crumble it doesn't matter how fine the mixture is, the most important thing is that the butter is thoroughly combined with the dry ingredients. 

When you are happy with the consistency add half a tbsp of Matcha (I'm using Eat Clean Tea Morning Matcha) and after rubbing this in squish all your mixture together to form a dough. 


Similar to any shortbread you will need to let it rest for half an hour so wrap it up in some cling film, stick it in the fridge...and to sit back and plan the next phase.


Those beady eyed amongst you may have noticed that I haven't added the goji berries yet. This is because after I remove the dough from the fridge I shall be giving it a bit of a knead (to warm it up, it should not need to be kneaded long) and I will add the goji berries just before the rolling it out.

Oh by the way you may want to preheat the oven at this stage: 180c or gas mark 4. 

Ok so I have a star cutter but last time I checked stars don't have baubles so for my first batch I'm not using goji. In total I have 30 stars. Place the rest of the dough back in the cling film so that it doesn't dry out whilst getting the stars ready.  


I'm ready for the berries are you?  

Roughly roll out the dough into a rectangle and place the berries in the centre. You could also do this with anything else that you felt like adding. Make it a double almond whammy be adding chopped almonds or try different coloured baubles with the addition of mixed peel or dried fruits. 


Anyway whatever additional ingredient you add place it in the middle of your dough and fold your dough into the centre enveloping whatever it is in the middle. Give the dough a little bit of a knee and you re ready to flour the surface (or silicon mat) and ready, set, roll! 

If your Christmas tree cutter is anything like mine i.e. small and fiddly be prepared to lose the tops, bottoms or sometimes both of the biscuits as you struggle to get the dough out of the cutter. 


upside down Christmas trees anyone?


Bake for approximately five minutes and leave to cool on the tray for a bit before you try to move them as your biscuits will still be quite soft when you first remove them from the oven. I tried taking them from the tray to the cooling rack before they were ready andthe biscuit just crumbled....so I won't be trying that again. 

So there you have it; Christmassy Matcha Almond shortbread. yummy.