Saturday 16 September 2017

5 Blackberry recipes that you might have been missing out on

The blackberry bushes near us are fit to bursting point which is why, when my father and I meandered down to the bramble bushes we returned with 2kg of the berries! What on earth was I going to do with all those blackberries? 


Instead of going for just the standard jam route I was keen to try something a bit different with my berries and to see just how far I could stretch my punnets.

Cake was definitely on the cards so I rustled up a simple sponge recipe and added 200g blackberries and baked at 180°c for 1 to 1 1/2 hour.  


Second I set some blackberries aside for a smoothie which I will make with kefir, a fermented probiotic culture that contains many beneficial bacteria and yeasts, yoghurt and a spot of honey to taste.

Chia Jam

When I first got to thinking about what to make with my multitude of blackberries, jam instantly jumped to mind yet I was a bit underwhelmed and the thought at making another batch of jam (we still have some of the blackcurrant stuff left) so I racked the internet’s brains for other ideas and this one kinda stuck.  


Obviously, it wouldn’t be me writing up recipes without experimenting and changing a few things so without further ado here's my take on chia jam:

You will need:

1.1 kg blackberries
100ml lemon juice
100m water
150ml honey
200g chia seeds

When you hydrate Chia seeds they become gelatinous, which, as some of the readers of my blog will now (or maybe you just know this anyway) is why they are often used as a substitute for eggs in baking. Following this thought process, it can be assumed that chia seeds can be used in jam making instead of sugar to set the set the jam. n.b. you will need to keep this jam in the fridge though and eat it within two weeks as it has not been preserved like jam has and therefore won’t last as long.

So yeah, I guess I lied, that whole last paragraph was further ado. 

Method:

In a pan boil the fruit and lemon juice for 3-5 minutes to soften the fruit. If like me, you realise at the last minute that you have in fact run out of lemons, use oranges. 


Mash the fruit using a fork, masher or blender depending on how fine you want your jam to be. 

Once boiling and bubbling away nicely stir in the honey.

Add the chia seeds and stir once only before removing from the heat and spooning your jam into sterilised jars.


Overnight Oats

Overnight oats are very in vogue with the health conscious,  clean eating fam so here’s my version featuring…you guessed it…blackberries.
As you’ve probably guessed from the name overnight oats require being made the night before as the cold oats steep in the milk overnight and require zero cooking, it's really really simple to make too. 

I’m actually going to go one step further with my super-easy overnight oats recipe because though some other recipes require a blender, mine doesn’t.

You will need:

65/70g oats - depending on how hungry you get in the morning
225ml almond milk
2 tbsp chia seeds
75g blackberries
2 tbsp of honey (to taste) 


Method:

Fill the base of your container, I'm using a jar with a handle with oats and pour the almond milk until it covers the oats (you made need more) 

Wham the other ingredients that you want to use in the jar and pop it in the fridge overnight. 


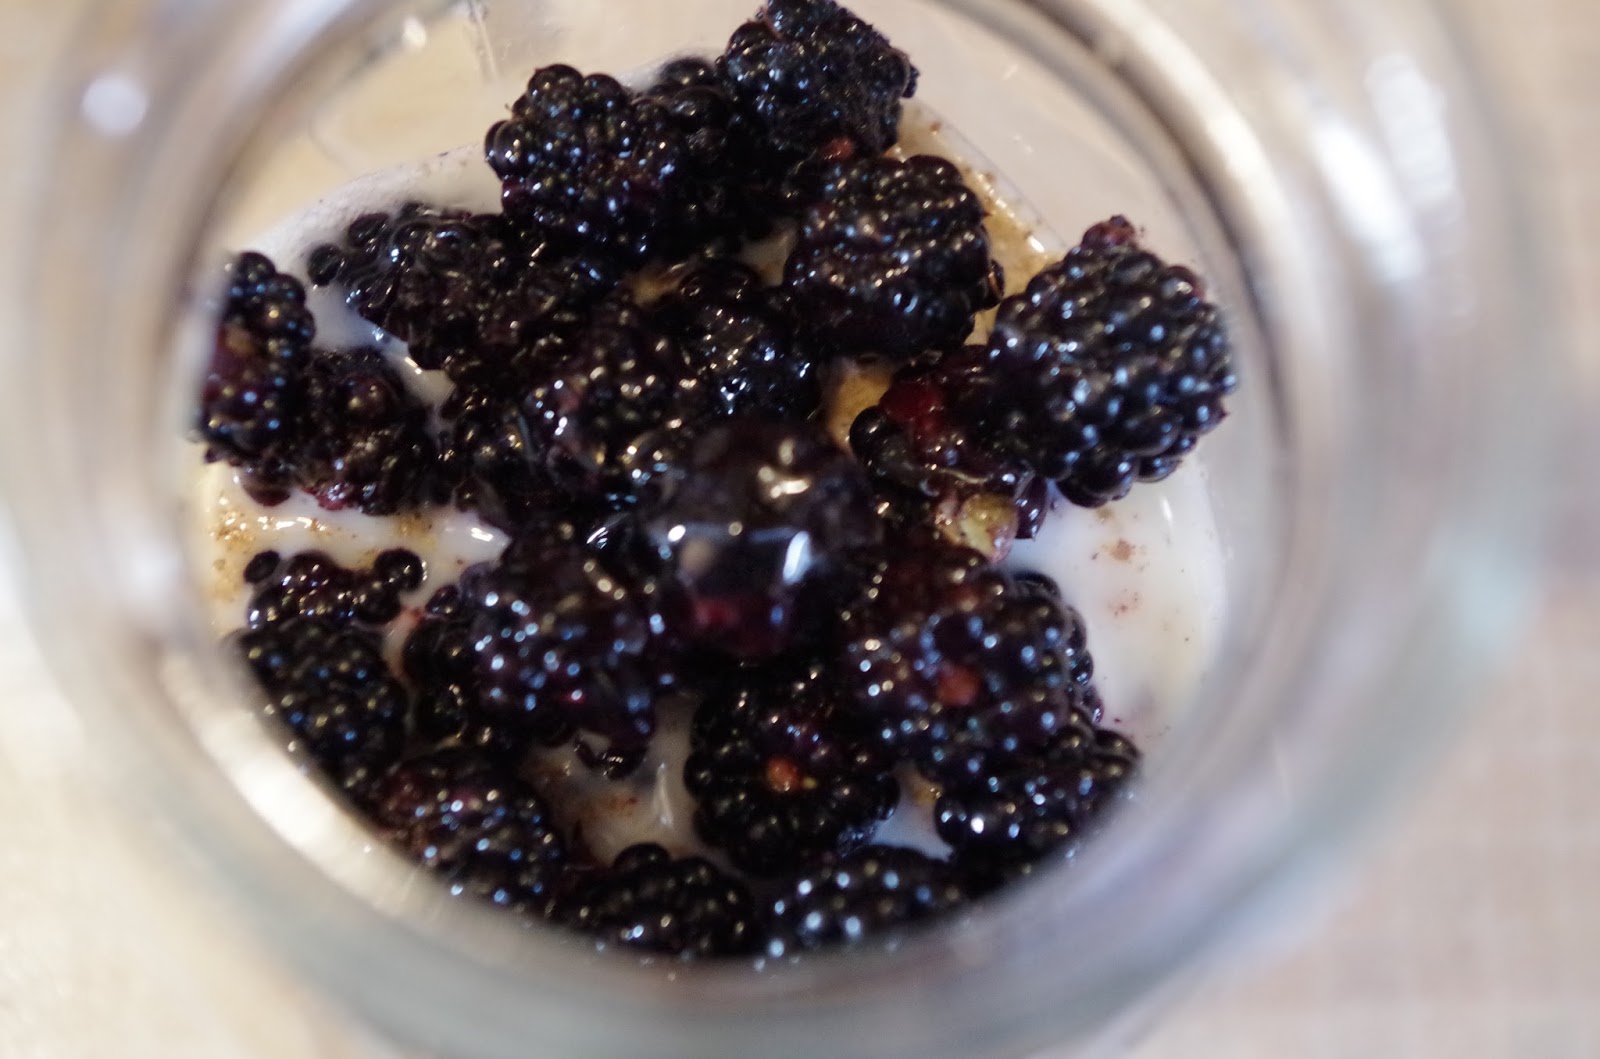
I decided to serve my overnight oats with a spoonful of the chia jam (see above)

Blackberry Brownies

The sharp, somewhat tart taste of blackberries works well with the rich flavour of dark chocolate and for the last recipe that I am going to share with you (on this post at least) marries these two flavours in deliciously moist brownies.

You will need:

225g sugar
113g butter (melted)
30g cocoa powder
1/2 tsp vanilla extract
1/2 tsp baking powder
125g plain flour
150-200g blackberries
30g walnuts (optional)
30g cocoa nibs (optional)

Method:

I’ve gone for another super-duper easy recipe for this one which is basically put everything in a bowl (except the blackberries) and mix well.  


Carefully fold in the blackberries trying not to burst them before you cook them. Spoon the mixture onto a lined tray and bake at 180°c for 20 -25 minutes. 


Friday 8 September 2017

The Darker The Better; Chocolate Lock In at Hotel Chocolat


Last night my mother and I went to a Chocolate Lock In event at Hotel Chocolat in Leeds and to say that I was excited would be an understatement. 


Of course, as with most things in life,  events leading up the night didn’t go so smoothly. The numpty that I am first booked the 24th August date and then could’t make it. *insert sad face* 

Happily I was able to rearrange  our Lock In date to the 7th September without a hitch and I wasn't charged again for it #winning

My mother asked me many times that evening whether I knew where the event was, I replied that of course I did, it was at Roast and Conch. Turns out that I was wrong, no sooner had we sat down with our cups of teaolat ( I had the cocoa, chamomile and lemon balm blend whilst my mother had the cocoa and peppermint) than we told that the event was happening at the other store meaning that we had to make a quick hop, skip and jump over to Albion Place and abandon our cups of tea, such a shame because I liked that tea. a lot.

Upon arrival (late, of course) we were greeted by Victoria and Shannon and glass of Prosecco. The secret theme of the evening’s Lock In was ‘The Darker The Better’ so it was all about super -duper dark single origin chocolates. - Hurray! 


Chocolate confectionery has, in general, moved away from the core ingredient; cocoa and relies a lot more heavily on sugar content and other ingredients. Hotel Chocolat wants to change that by placing cocoa at the forefront of all of their products including the truffles, beer and spirits, tea and cooking products. 

A lot of chocolate that you can buy at Hotel Chocolat is made from a blend of cocoa from various origins to give the chocolate a well rounded and balanced flavour yet in recent years they have introduced a range of single origin bars to their collection and it was these that we were going to be trying last night, yet I’m getting ahead of myself. 

Once we were all assembled around the room and filled in on the fire safety procedures, Victoria talked us through the anatomy of cocoa pods, including the process of pod to bean to nib. Magically there just happened to be a nib for us to try. These nibs are  then conched - ground down to a liquor - which are then blended with cocoa butter to make a bar of chocolate. 


When you taste chocolate you use all of your five senses because proper good chocolate is about so much more than the taste:

Sight: the chocolate should be smooth and have a glossy look (if not it may require more tempering) You can read about my failed attempts to make my own chocolate, including the tempering here if you want

Listen: And by this I mean that you should hold your piece of chocolate up to ear where it will whisper sweet caresses.  
When you break your piece of chocolate in two you are looking for a beautifully crisp snap 

Smell: oh yes give that chocolate a good sniff and enjoy the beautifully chocolaty aromas

Feel: As I mentioned in sight, your chocolate should be super smooth and silky. (if it is coarse then the chocolate has not been coached for long enough)

Some chocolatiers/companies use vegetable fat when making up their chocolate but Hotel Chocolate insists on using only cocoa butter. This melts at body temperature which therefore means that yet will start to melt as soon as you pop it into your mouth. Heaven 

Taste: Ok so I know that looking, smelling, touching and hearing was difficult when all you actually wanted to do was eat the damn thing but the time has finally come to pop that scrumptious morsel into your mouth. Don’t bite it though! 

Instead let the chocolate slowly melt in your mouth, moving it around your tongue and explore the taste sensations. 


Every Monday in the Hotel Chocolat office the new recipes of chocolates are tried using the red and green card method. To avoid bias and swaying other peoples opinions, the tasting is done in silence before the tasters either hold up a red card, meaning that they didn’t like the chocolate, or a green card meaning that they did. Only then will they start to discuss the chocolate in question in more detail.  

The best recipes are then passed onto the members of the tasting club (that’s me) and undergo a similar testing process which then determines which chocolates will make it to the shop floor. 


We used a similar red and green card process when trying our selection of chocolates and I was very surprised by the variety of flavours that we came across in our selection of six single origin chocolates. 


To start we tried an 80% blended baton which had fruity and somewhat nutty notes.

The first single origin chocolate on the tasting board was 85% cocoa from Ghana which I felt had an earthy taste. 

Next up was the 85% Saint Lucia chocolate made using beans from Hotel Chocolat’s own Boucan plantation as well as from surrounding plantations. I very much enjoyed this fruity chocolate.

We turned up the cocoa concentration for the next chocolate, it was only a 5% difference but boy could you taste it with this metallic tasting 90% Ecuadorian bar.

One of the stand out chocolates of the evening for all the wrong reasons for me was the 95% Aracataca. This Columbian bar was very sour and had a bitter aftertaste. 

For the last two chocolates in our tasting adventure we went for the whole 100% : 

First up was the 100% St Lucia with enjoyable nutty taste with molasses richness. 

Honduras 100% was particularly memorable, much like the one from Aracataca. This tasted very salty and sour. 

Once we had tried all the chocolates in our selection we went back to the 80% baton, which after the 100% chocolates tasted surprisingly sweet. 


The thoroughly enjoyable evening came to an end with inshore vouchers where I opted to try the newest recipes on offer. 


Thank you to Hotel Chocolat and especially Victoria and Shannon for a lovely event. 

Click here to book yourself onto your own Chocolate Lock In evening